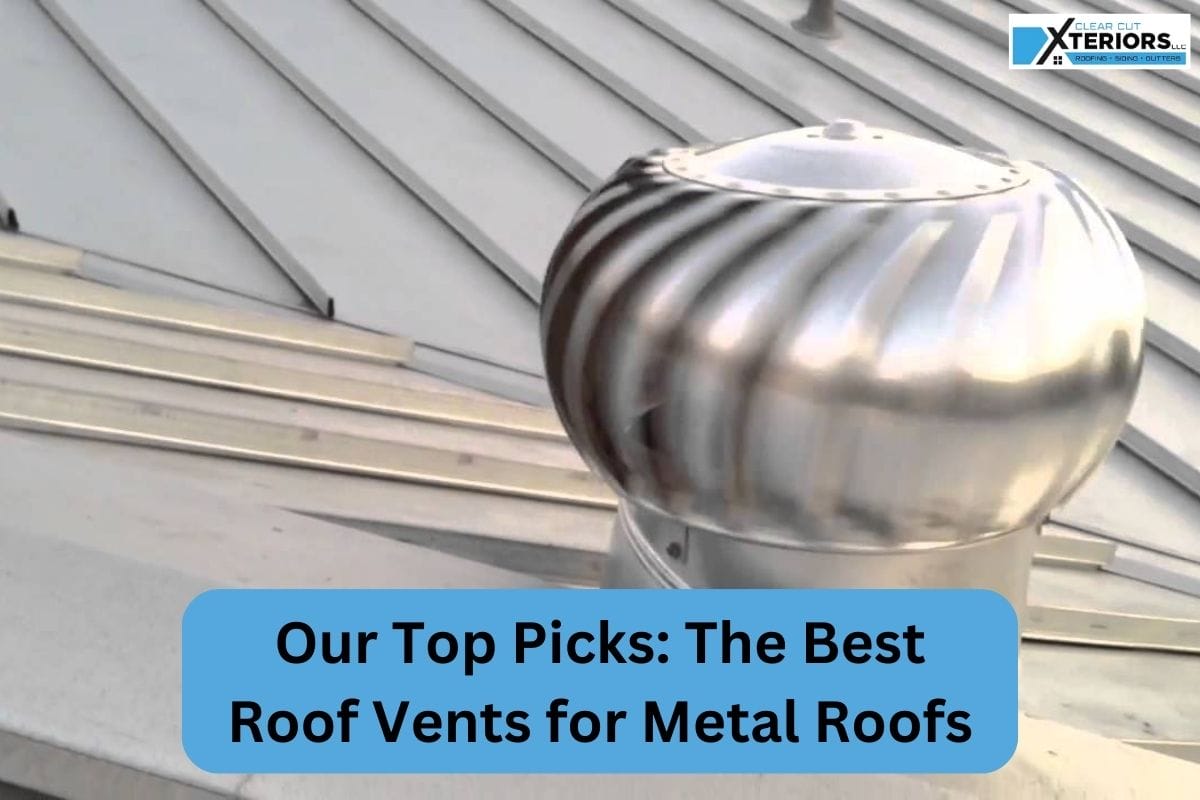
While metal roofs are exceptionally durable and long lasting, they require an equal amount of ventilation as the other roofing systems do. If you want to install roof vents on metal roofs, you will need to understand metal roof ventilation requirements and the best options available. In this article, we’ll explore the top roof vents for metal roofs and how to install them properly. Read this blog post until the end to make an informed decision for your home.
Two Types Of Metal Roof Ventilation
There are two main types of metal roof ventilation used to create a balanced airflow within the attic and building. These ventilation methods are known as intake ventilation and exhaust ventilation.
1. Intake Ventilation
Intake ventilation is responsible for bringing fresh, cooler air into the attic space, creating a continuous airflow that helps regulate temperature and humidity. Intake vents include soffit vents and gable vents.
2. Exhaust Ventilation
Exhaust ventilation, on the other hand, is responsible for expelling hot, moist air from the attic, providing space for fresh and cool air to enter. This ensures that heat does not become trapped and causes various issues. Exhaust vents are ridge vents, box vents, and solar powered vents.
Before installing any of these vents on your roof, you must explore the key parts of your metal roof to understand your metal roof ventilation requirements.
Different Types of Roof Vents For Metal Roofs
There are many types of vents that can be used in metal roofing systems. If you aren’t sure which type is best for your property, consult with a professional roofing company.
1. Ridge Vents
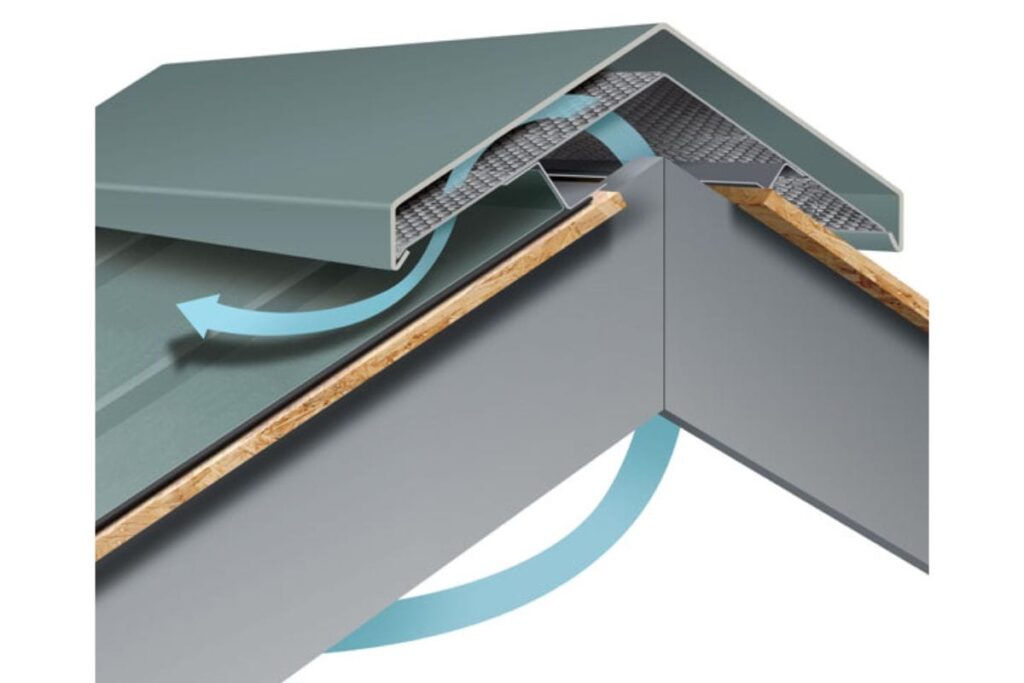
Ridge vents are an essential component of any well ventilated roofing system. They run along the peak of the roof and provide a continuous exhaust vent. Ridge vents work in harmony with soffit vents, creating a natural airflow from the bottom to the top of the roof. This airflow effectively removes excess heat and moisture, preventing condensation and the associated problems, such as mold and mildew growth.
Product Recommendation: Hi-Perf Ridge Vent
Specially designed for metal roofs, especially standing seam metal roofs, the Hi-Perf Ridge Vent is an incredible venting option for your roof. It comes with a 20-year warranty and can withstand wind speeds of up to 130 mph. Moreover, the Hi-Perf Ridge Vent is perfect for homes in all climates, as it withstands heavy snow loads, thermal movement, and is quicker to install resulting in lower labor costs.
2. Static Vents
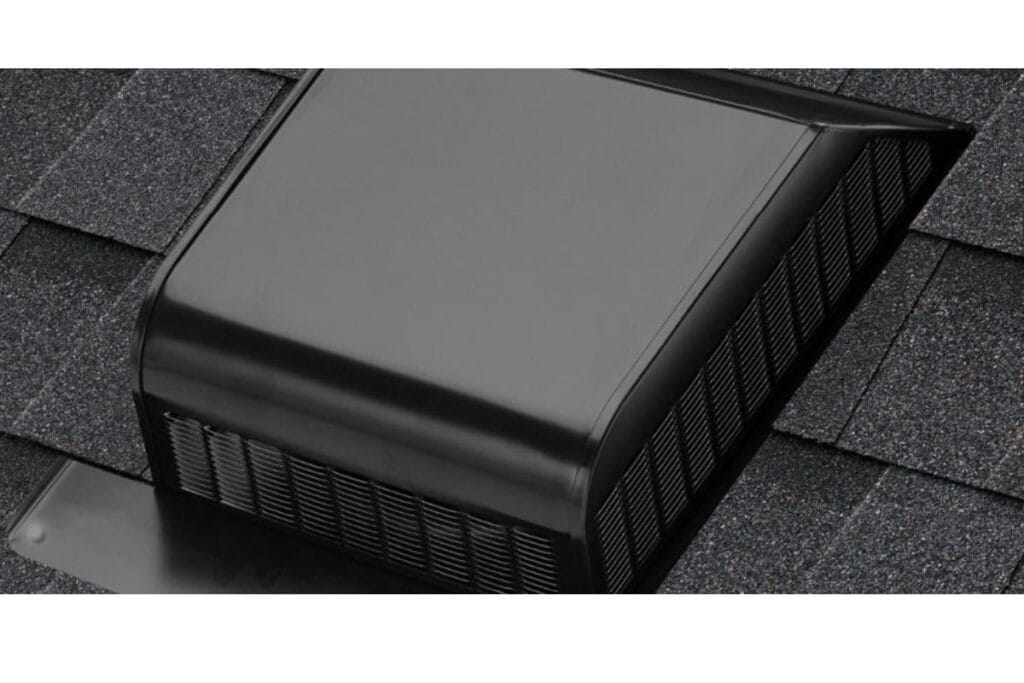
Static vents, such as the traditional box or slant-back vents, are stationary and provide a cost effective solution for ventilating your metal roof. They come in various styles and materials, including metal, plastic, and even copper, which can add a touch of elegance to your roof. While they don’t rely on wind power like turbine vents, they are highly efficient in promoting air circulation.
Product Recommendation: HighPoint® GL50 Slant Back Vent
Atlas provides a roof ventilation system with slant back vents, such as the HighPoint® GL50 Slant Back Vent. These vents are weather tight and suitable for roofs with pitches from 3:12 to 12:12. These roof mounted and black box vents offer a sleek and elegant look while providing your attic with adequate exhaust ventilation.
3. Turbine Vents
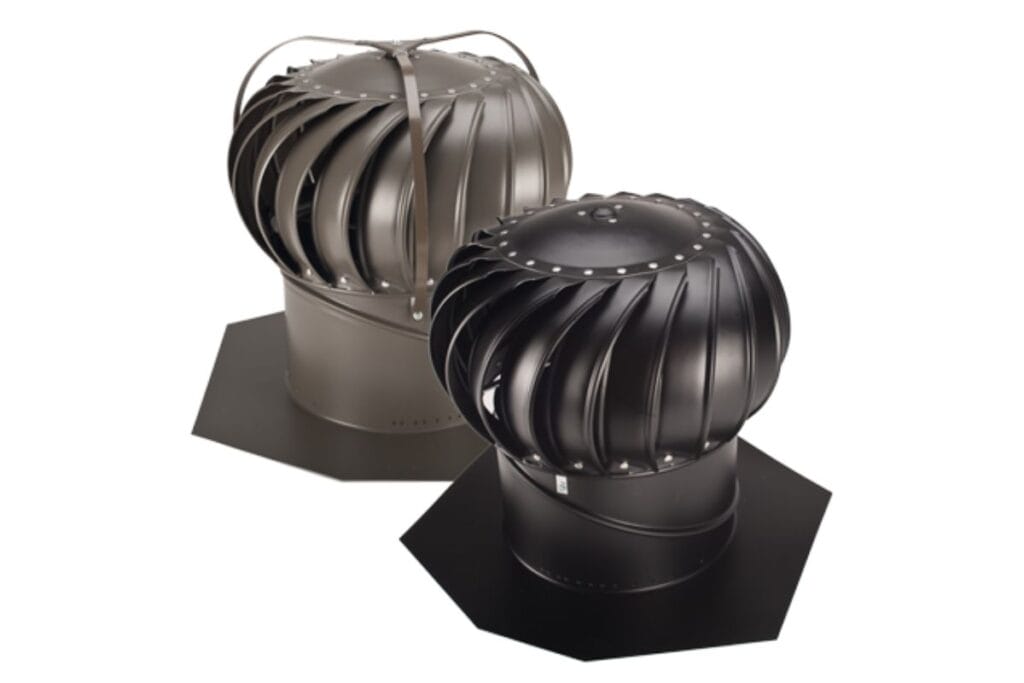
Turbine vents, also known as whirlybird vents, are another popular option for metal roofs. These vents utilize the power of the wind to draw hot and humid air out of your attic space. The spinning action of the turbine creates a low pressure zone inside the vent, which encourages the airflow, effectively cooling the space beneath the roof.
Product Recommendation: Lomanco Whirlybird® Turbine
Lomanco Whirlybird turbines are available in various models and designs, including aluminum and galvanized finishes, tile roof designs, and different sizes. It comes in aluminum and galvanized finishes, as well as a tile roof design. Moreover, all Lomanco Whirlybird turbines come with a Lifetime Transferable Warranty.
4. Gable Vents
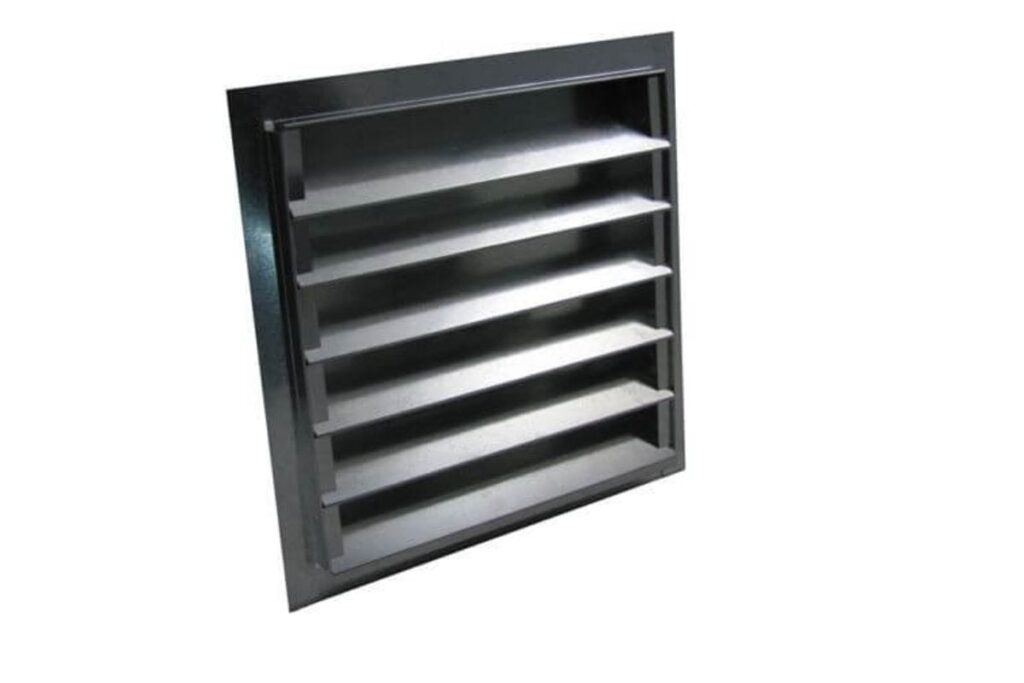
Gable vents are typically placed on the gable ends of a building, serving as exhaust vents for hot air. They come in various designs, making it easy to choose one that complements the overall aesthetics of your property. Gable vents are particularly useful for homes with gable-style roofs, and they work well in combination with other roof vents to ensure efficient air circulation.
Product Recommendation: Louvered Gable Vent – Galvanized
The Louvered Gable Vent is made of 28 gauge galvanized steel and can be used for both intake and exhaust ventilation. It is available in various sizes and mounting options to suit different ventilation needs. The product is proudly manufactured in the United States by Famco, ensuring high standards of production and quality control. Additionally, it comes with a 1-year warranty against both product defects and installation, providing assurance of its reliability.
Why Ventilation Is Crucial For Metal Roofs
Proper ventilation is needed to ensure the longevity of a roofing system and its materials.
1. Moisture And Condensation Control
Metal roofs are susceptible to moisture related issues, just like any other roofing material. Proper ventilation helps control and mitigate moisture concerns. When moisture accumulates under the metal roof, it can lead to problems like condensation, which in turn can cause rust, rot, and even mold growth. By allowing air to circulate, ventilation helps keep the underside of the roof dry, preventing these issues.
2. Temperature Regulation
Metal roofs have a unique characteristic – they can get incredibly hot under direct sunlight. Without ventilation, this heat can be transferred to the attic space, raising the overall temperature. Inadequate temperature regulation can make your living space uncomfortably warm and increase cooling costs. Proper ventilation dissipates heat, maintaining a more consistent temperature under the roof.
3. Energy Efficiency
When your attic or the space beneath the metal roof is excessively hot, your HVAC system has to work harder to maintain a comfortable indoor temperature. This increased workload leads to higher energy bills. Proper ventilation can significantly improve energy efficiency by reducing the heat buildup in your home’s upper level.
4. Ice Dam Prevention
In regions prone to cold winters, ice dams can be a significant problem. An ice dam forms when snow on the roof melts and then refreezes at the eaves, causing water to back up under the roof. Proper ventilation helps keep the roof’s temperature consistent, reducing the conditions that lead to ice dam formation.
5. Prolonging Roof Life
While metal roofs are known for their longevity, even they can benefit from proper ventilation. Excessive heat and moisture can accelerate the aging of metal, causing it to deteriorate faster than expected. Adequate ventilation creates a favorable environment that helps extend the lifespan of your metal roof.
How To Cut Metal Roofing Panels For Vent Installation
If you are going for a DIY vent roof installation, you will need to cut the metal roof to size and shape first. Here is a step by step procedure for you to follow. However, remember to prioritize safety before and while working with metal roofing panels.
1. Safety First
Throughout the cutting process, remember to wear your safety gear. The circular saw will produce sparks and metal shavings, so protect your eyes, hands, and ears.
2. Measure and Mark
Begin by measuring the dimensions of the opening for your vents and marking the cutting lines on the metal roofing panel. Ensure your measurements are precise, as accuracy is crucial to achieving a perfect fit for your vents.
3. Secure the Roofing Panel
Place the metal roofing panel on your work table or sawhorses, ensuring it is stable and won’t move during the cutting process. Use clamps to secure it in place, keeping it steady.
4. Set Up the Circular Saw
Attach the carbide-tipped or metal cutting blade to your circular saw. Make sure it’s sharp and in excellent condition for a clean cut. Adjust the cutting depth to the thickness of the metal without going too deep.
5. Start Cutting
Position the circular saw on the marked cutting line and start cutting slowly and steadily. Maintain a firm grip on the saw and guide it along the cutting line using a straight edge. Take your time to ensure a straight and clean cut.
6. Finishing Touches
After completing the cut, use a file or sandpaper to smooth the edges of the metal roofing panel. This will help prevent any sharp edges that could be hazardous during installation.
7. Install the Vents
With the metal roofing panel properly cut, you can now install the vents according to the manufacturer’s instructions. This step will vary depending on the type and brand of vents you’re using.
Hire Expert Roofers In Minneapolis For Your Metal Roofing Vents Installation
Installing roof vents on metal roofs isn’t always a DIY task. It requires careful attention when choosing the right vent, cutting the metal panels appropriately, and installing the selected vents properly. If you are thinking of installing vents on a metal roof in your home or office, consult skilled and expert roofers at Clear Cut Xteriors.
The roofers at the company are proficient at handling any metal roofing project, including repair, replacement, or roof installation. Call us today at (651) 340-3410 and consult a professional roofer.


