The garage in your home is more than just a place to park your car because it also protects your valuables and offers protection. A crucial part of this protection is the roof, but it won’t last forever. While you might not consider it, your garage roof will one day require replacement, and like every homeowner, you may have questions about the process and how to prepare.
In order to help you out, this blog post aims to help you understand everything about garage roof replacements, from identifying when to replace your roof to maintaining your new one.
The Garage Roof Replacement Process
#1. Initial Inspection and Assessment
The first step in any garage roof replacement is a thorough inspection to evaluate its current condition.
Why It’s Important
Before any work starts, inspecting the garage roof aims to identify its current condition and any hidden problems. This ensures informed decisions are made in regard to garage repairs or replacements.
Here are some key signs your garage roof may need replacing:
A. Water Stains or Leaks
Stains or leaks on the ceiling or walls mean the roof’s waterproof layer has failed, often due to damaged shingles.
B. Damaged Shingles
Curled, cracked, or missing shingles leave the structure exposed, leading to more damage.
C. Sagging Roof
A sagging roof shows structural decay, which can weaken the garage if it’s not addressed.
D. Discoloration
Dark spots indicate UV or moisture damage, meaning the roof’s protection is wearing out.
E. Missing Shingles
Missing shingles create bald spots, allowing water in and increasing the risk of mold and damage.
#2. Getting Permits and Approvals
Before replacing a roof, you often need permits to follow building codes and safety rules. This can seem daunting, but most contractors handle it for you, saving time and avoiding issues. In Minnesota, permits are usually required for garage roof replacements.
Some cities specifically require roofing permits when replacing a roof. You’ll need to fill out the respective applications for these permits and ensure that your local contractor has knowledge of local requirements.
#3. Getting an Estimate
After the inspection, the contractor will provide an estimate for the work needed. This usually includes the cost for materials, labor, and any extra repairs that need to be made. A good contractor will clearly break down the costs, or offer an instant quote so you know where your money is going.
The Average Cost To Replace A Garage Roof
Homeowners generally spend $4,000 to $10,000 on garage roof replacements, averaging about $8,000 in Minnesota. Smaller garages may cost between $1,000 and $4,000, depending on size and materials.
Factors Influencing The Garage Roof Replacement Cost
- Labor Costs: Labor can add significantly to costs, ranging from $150 to $300 per square. The roof’s complexity, such as pitch and existing issues, can increase labor time and expenses.
- Garage Size: Larger garages will cost more due to increased material and labor needs. For example, a two-car garage will require more resources than a single-car garage.
- Additional Repairs: If hidden issues like damaged decking are discovered, the overall cost will increase since you’ll want to make repairs prior to installing the new roof.
Contract Signing
Before work begins, review the contract carefully to understand all terms, including payment schedules, timelines, warranty details, and how unexpected issues will be handled. A clear agreement helps prevent misunderstandings later.
#4. Choosing the Right Roofing Material
Choosing the right roofing material is an important choice. Typical choices consist of:
A. Asphalt Shingles

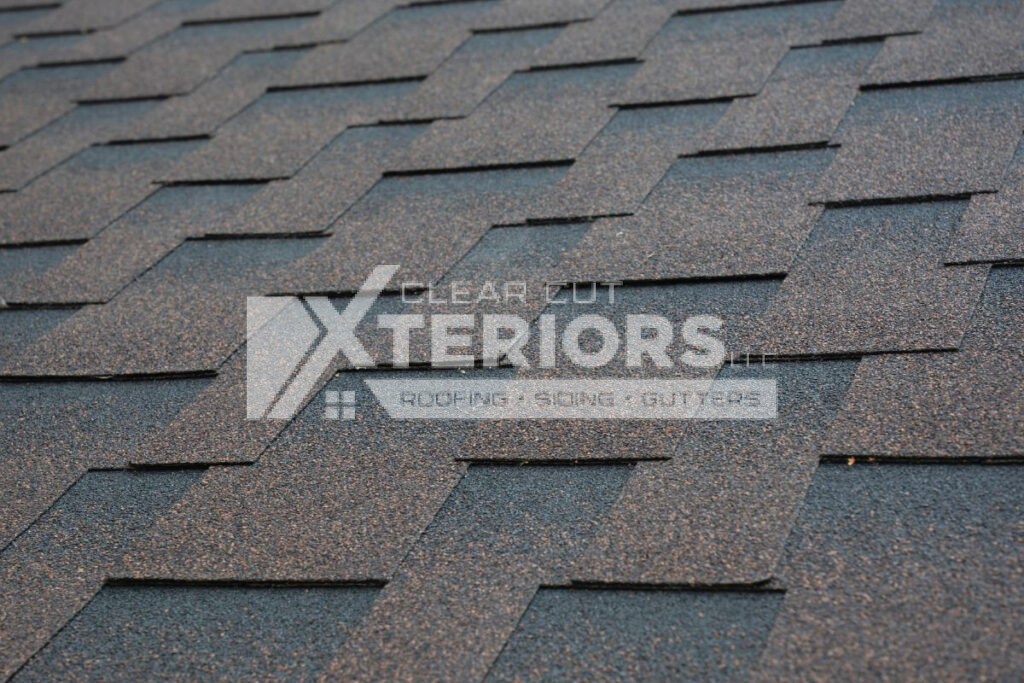
A popular choice, asphalt shingles are affordable and easy to install. Made from fiberglass soaked in asphalt and topped with ceramic granules, they resist UV rays and last 15-25 years. Available in styles like 3-tab and architectural, they easily complement any home design.
B. Metal Roofs

Known for their longevity, metal roofs can last over 50 years with minimal maintenance. They withstand harsh weather, including heavy snow and strong winds, making them perfect for tough climates.
C. Tile Roofs

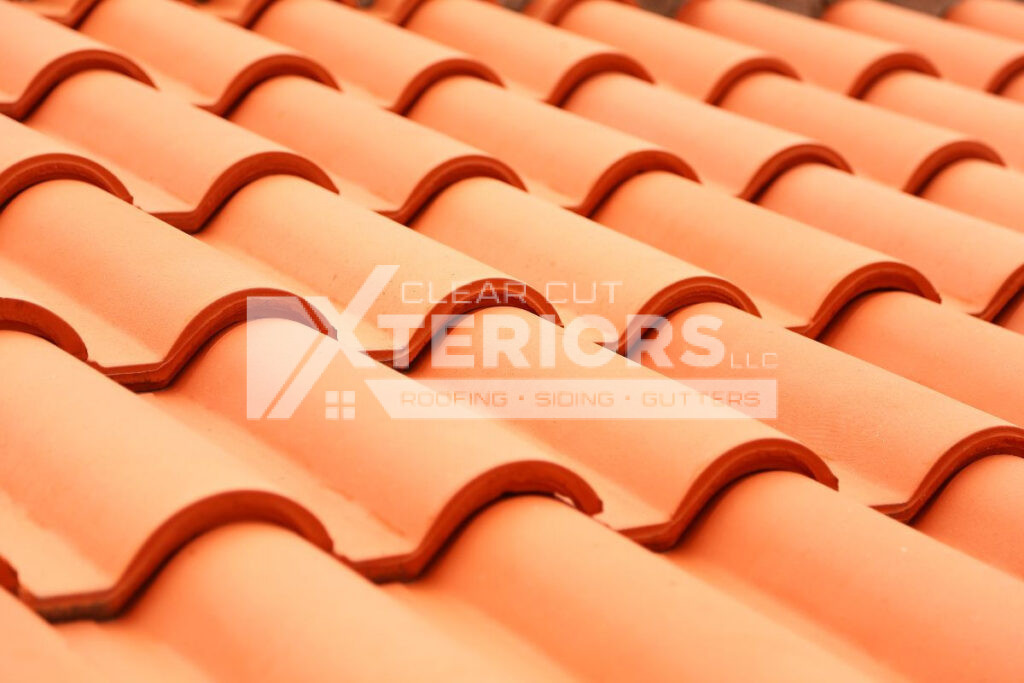
Tile roofs, like clay and concrete, offer durability and aesthetic appeal. They provide excellent fire resistance and can last over 50 years with proper care. However, their weight can be a concern, and installation costs are typically higher.
#5. Preparing for the Replacement
To guarantee a seamless and effective installation process, adequate preparation is essential before the replacement begins.
Material Delivery
After signing the contract, your roofing materials will be delivered. Coordinate with your contractor to schedule this and ensure there’s enough storage space.
Site Preparation
Clear driveways and nearby areas of vehicles and furniture for a safe workspace. Inform your neighbors about the upcoming work to reduce disturbances.
Protecting Property
Contractors will use tarps to protect your landscaping, but it’s a good idea to move valuable items and cover or relocate delicate plants.
#6. The Replacement Process
Now that everything is ready, the old roof must be removed in order to start the replacement.
Tear-Off Phase
The first step in replacing your garage roof is removing the old roofing materials. This “tear-off” phase involves stripping away shingles or other coverings down to the decking.
Contractors will use tarps to collect debris and keep the area clean. After removing the old materials, contractors will check the decking for any damage or rot that needs repair before installing new materials.
Installation Phase
Once the old materials are gone and the roof deck is repaired as needed it’s time for installation:
A. Underlayment
A protective layer is added on top of the decking for extra waterproofing and insulation.
B. New Roofing Material
New roofing materials of your choice are installed according to the manufacturer’s specifications.
C. Flashing
Proper flashing around chimneys, vents, and the edges is vital to prevent leaks. Neglecting this step can lead to serious water damage over time.
During this phase:
- Quality Control: Ensure all materials meet local building codes and manufacturer specifications.
- Communication: Stay in contact with your contractor to address any concerns or questions that come up.
#7. Final Inspection and Clean-Up
After installation, a final inspection and clean-up will ensure everything is done correctly and your property is left tidy.
Quality Assurance
After installation, a final inspection ensures all work meets industry standards and is free of defects. Homeowners should be available during this part of the process to ask any questions directly.
Debris Removal
The contractor will handle debris removal and leave your property clean and free of leftover materials. Check for nails and sharp objects, as these can be hazardous to pets and children.
Future Maintenance Tips
To extend the life of your new garage roof:
- Schedule Inspections: Have a pro inspect your roof at least once a year, ideally in the spring.
- Clean Gutters: Regularly check for debris. Clogged gutters can cause water to pool on the roof.
- Fix Minor Repairs Quickly: Address small leaks or damage promptly to prevent bigger issues.
- Trim Branches: Cut back tree branches hanging over your garage to prevent damage from occurring if they fall.
Secure Your Garage with a Garage Roof Replacement from Clear Cut Xteriors!
Replacing your garage roof can be a hassle-free experience with Clear Cut Xteriors. Our team will walk you through every step, from the initial inspection to the final cleanup, so you know exactly what to expect. With our exp ertise, we’ll help you select the best materials and ensure a smooth installation. Trust Clear Cut Xteriors for your garage roof replacement needs! Call us at (651) 340-3410 to speak with one of our experts.


