Despite often being overlooked, roof flashing has a major role in protecting your home from water damage. It acts as a barrier, preventing water from seeping into the roof’s most vulnerable areas.
Whether you’re dealing with leaks or simply looking to understand your roof better, this easy-to-follow blog post will explain everything you need to know about flashing, answering the simple question: What is flashing on a roof?
What Is Roof Flashing?
Being a necessary part of any roofing system, it is important to know: what is the purpose of flashing on a roof? To put it simply, roof flashing prevents water from seeping into vulnerable areas like valleys or where the roof meets walls, chimneys, or skylights. Typically made from materials like steel, aluminum, or copper, it directs water away from these spots and into the gutters. When properly installed, flashing creates a waterproof seal that boosts the roof’s durability and protects the structure below from water-related damage.
Why Is Roof Flashing Important?
- Prevents Leaks: Seals gaps to stop water entry.
- Stops Moisture: Directs water away, preventing mold and rot.
- Saves Money: Avoids expensive repairs from water damage.
- Improves Efficiency: Stops air leaks, saving energy.
- Extends Roof Life: Protects against moisture damage.
- Improves Drainage: Ensures water flows into gutters.
- Enhances Look: Blends with the roof for a neat finish.
What Are The Different Types Of Flashing For A Roof?
To further understand, let’s look at the various types of flashing used on roofs:
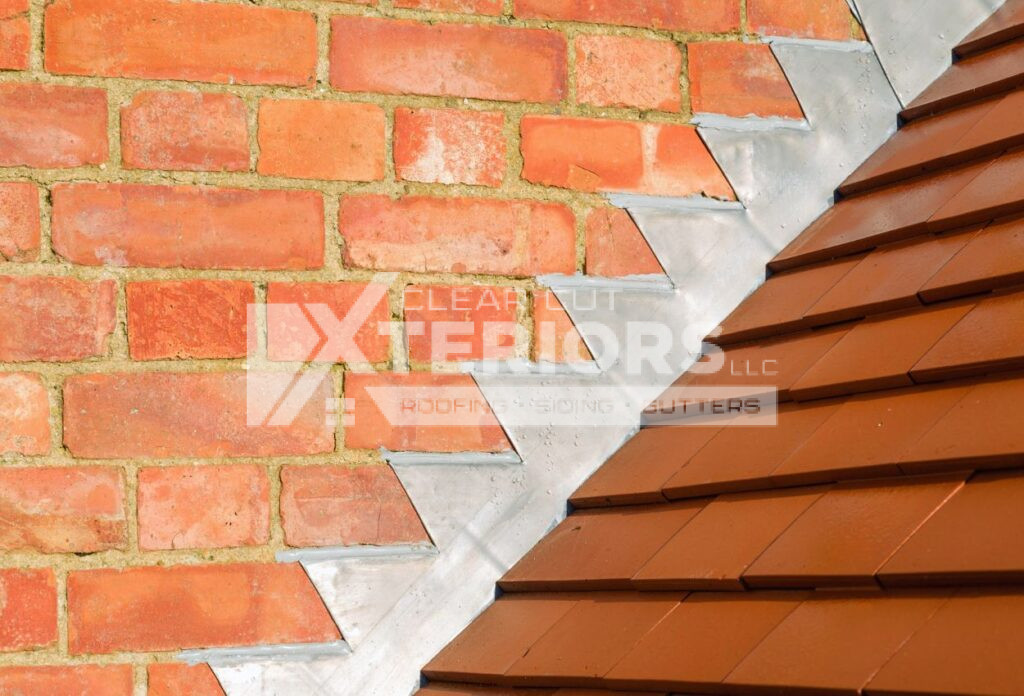
1. Step Flashing

This flashing uses L-shaped metal pieces arranged in a stair-step pattern where the roof meets a vertical surface, like a wall or chimney. Each piece overlaps the one before it, guiding water away and preventing leaks. It works with the roofing material for a watertight seal.
2. Continuous (Apron) Flashing

Following this, continuous or apron flashing comes into play. This is a single long piece of metal that forms a waterproof barrier where the roof meets a wall. It directs water down to the shingles, helping prevent leaks. However, it needs careful installation to handle expansion and contraction or it may crack.
3. Drip Edge Flashing

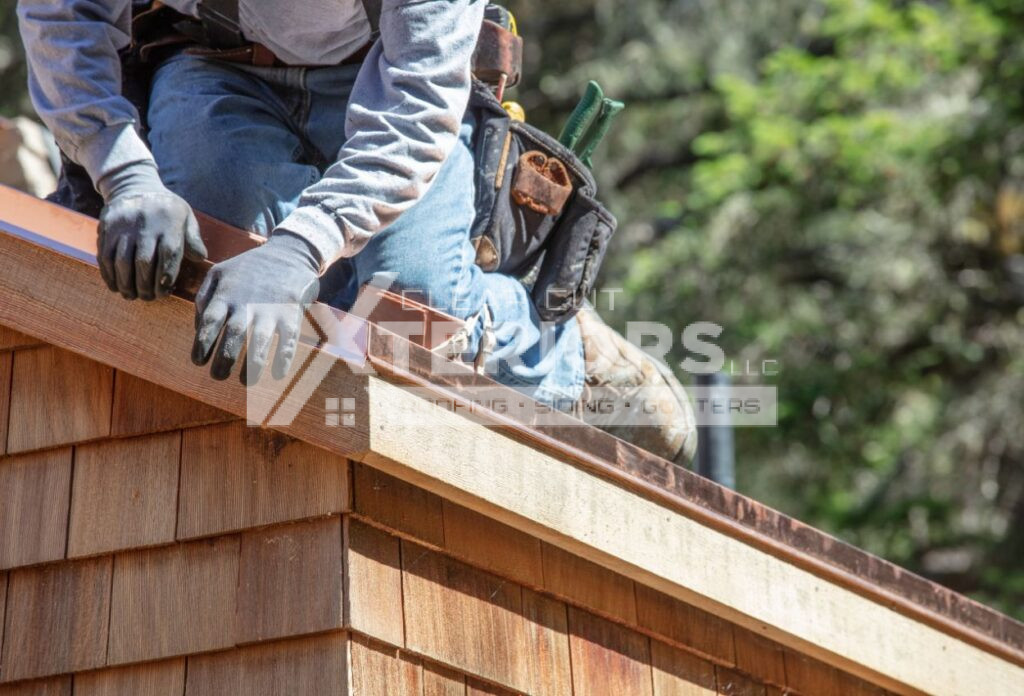
Next, along the roof’s edges, drip edge flashing is installed. This type channels water into gutters and keeps it from running down the walls. It plays a crucial role in protecting the fascia board and the roof structure from water damage, helping to extend the roof’s lifespan.
4. Valley Flashing

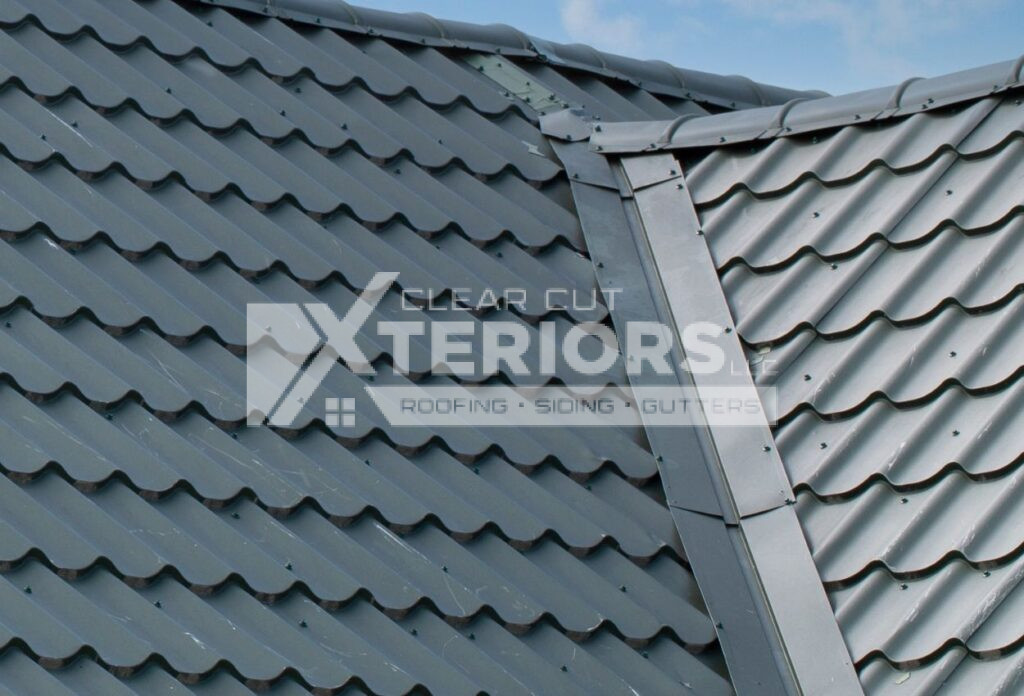
Moving to the valleys, as the name suggests, valley flashing is used where two roof slopes meet. It directs water away from these areas, which are prone to pooling during rainstorms. This helps prevent leaks, particularly in these common trouble spots.
5. Vent Pipe Flashing
In areas with roof openings, like plumbing vents or electrical outlets, vent pipe flashing is essential. This flashing seals around these penetrations, keeping water from entering the gaps. Made of metal with a rubber or plastic collar, it ensures the roof remains secure and leak-free.
6. Skylight Flashing
Another critical flashing component is skylight flashing, which prevents leaks around skylights. It includes components at the top and bottom, plus step flashing on the sides, forming a watertight seal to protect against water infiltration.
7. Counter Flashing
Finally, counter flashing is installed over other flashing types like step or continuous flashing. This adds an extra layer of protection by directing water away from vertical surfaces and is often embedded into walls or chimneys, creating a secure seal against moisture.
8. Kickout Flashing
Kickout flashing is installed where a roof meets a wall just above the gutters, directing water away from the siding and into the gutter system. Without it, water can seep behind the siding, possibly leading to rot, mold, and structural damage.
What Is The Material Composition Of Flashing For A Roof?
Next, let’s go over the materials used in flashing so you can choose the right option for your home:
Metal Flashing
1. Galvanized Steel
This is a popular choice because it is affordable and resistant to rust. Coated with zinc, galvanized steel protects against corrosion, making it ideal for various weather conditions.
2. Aluminum
Lightweight and easy to work with, aluminum flashing naturally resists corrosion. However, it can break down when exposed to alkaline materials, so it’s best used in specific applications where a lighter material is needed.
3. Copper
Copper flashing is highly durable and attractive, forming a green patina over time. While it’s more expensive than other metals, its longevity makes it a top choice for high-end projects.
Non-Metal Flashing
1. Plastic
Made from PVC, plastic flashing is waterproof and long-lasting. However, it is not as durable and is prone to cracking in cold temperatures, limiting its use in some roofing applications.
2. Asphalt-Based
Asphalt-based flashing, such as rubberized asphalt and butyl rubber, can be useful in certain applications. However, it may not last as long as metal options and can be a fire risk.
Additional Components
1. Flashing Cement
This is used to secure flashing to roofing surfaces, ensuring a watertight seal and bonding materials together to prevent leaks.
2. Expansion Joints
These joints allow for the natural expansion and contraction of metal flashing due to temperature changes. They help prevent damage to the flashing system and maintain its effectiveness.
How Do You Install Roof Flashing?
Below, we will go step by step through the flashing installation process so you know what to expect. Proper installation is key to ensuring your roof is sealed and secure.
Step #1: Prepare the Area
Clean the Surface
Start by removing old flashing, debris, and any loose roofing materials. Check for damage such as rot and make sure to repair any issues before moving on.
Install Underlayment
If your roof is unfinished, apply a waterproof layer. If you’re working with an existing roof, you may need to lift the shingles to access the old flashing.
Step #2: Measure and Cut Flashing
Measure
Measure the area where the flashing will be placed to make sure it fits properly.
Cut the Flashing
Use tin snips or a utility knife to cut the flashing material based on your measurements. For step flashing, bend the material to match the roof and wall’s contours.
Step #3: Install Corner Flashing
Position Apron Flashing
Place the apron flashing at the intersection of the roof and wall, ensuring it overlaps with adjacent pieces.
Secure It
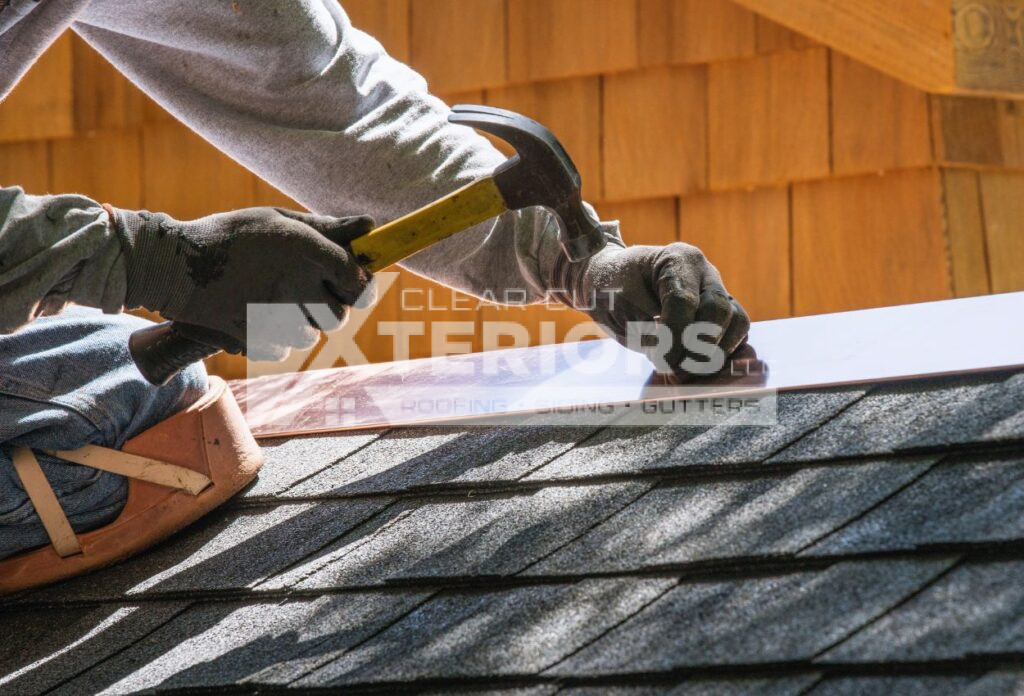
Nail it into place, making sure it extends at least 8 inches above the shingles. Apply sealant to the overlaps for added protection.
Step #4: Install Kickout Flashing
Place Kickout Flashing
Position the kickout flashing at the corner where the roof meets the wall to direct water into the gutters.
Secure with Sealant
Use roofing cement or sealant to secure it in place so it stays fixed and effective.
Step #5: Install Step Flashing
Nail Starter Shingle
Begin by nailing the starter shingle along the roof’s edge.
Install Step Flashing
Place the first piece of step flashing against the wall, overlapping it with the starter shingle. Nail it down on both sides, ensuring each piece overlaps by 2 to 3 inches.
Layer Shingles Over Flashing
As you continue installing shingles, make sure each one overlaps the flashing, covering the nails and creating a waterproof seal.
Step #6: Finalize Installation
Continue Layering
Keep repeating the process of installing step flashing and shingles until you reach the peak of the roof.
Inspect Your Work
Carefully check the seams and overlaps to ensure proper sealing. Make sure there are no exposed nails that could allow water to penetrate.
Step 7: Test for Leaks
Conduct a Water Test
Once the flashing is installed, spray water from a hose above the flashing and check for any leaks inside the attic or living space below.
Protect Your Home With Roofing Services from Clear Cut Xteriors LLC
In short, roof flashing is essential for keeping your home dry. Proper installation and maintenance help prevent leaks and extend your roof’s lifespan. If you notice any problems or need repairs, it’s a good idea to consult roofing professionals for help.
Put your faith in Clear Cut Xteriors LLC for dependable roofing services. Our team of roofers is knowledgeable in every facet of roofing, including the installation and upkeep of roof flashing. To get the best for your roof, call us today at (651) 340-3410!


